Support our educational content for free when you purchase through links on our site. Learn more
Is Tea Easy to Grow? Discover 10 Essential Tips for Success! 🍃
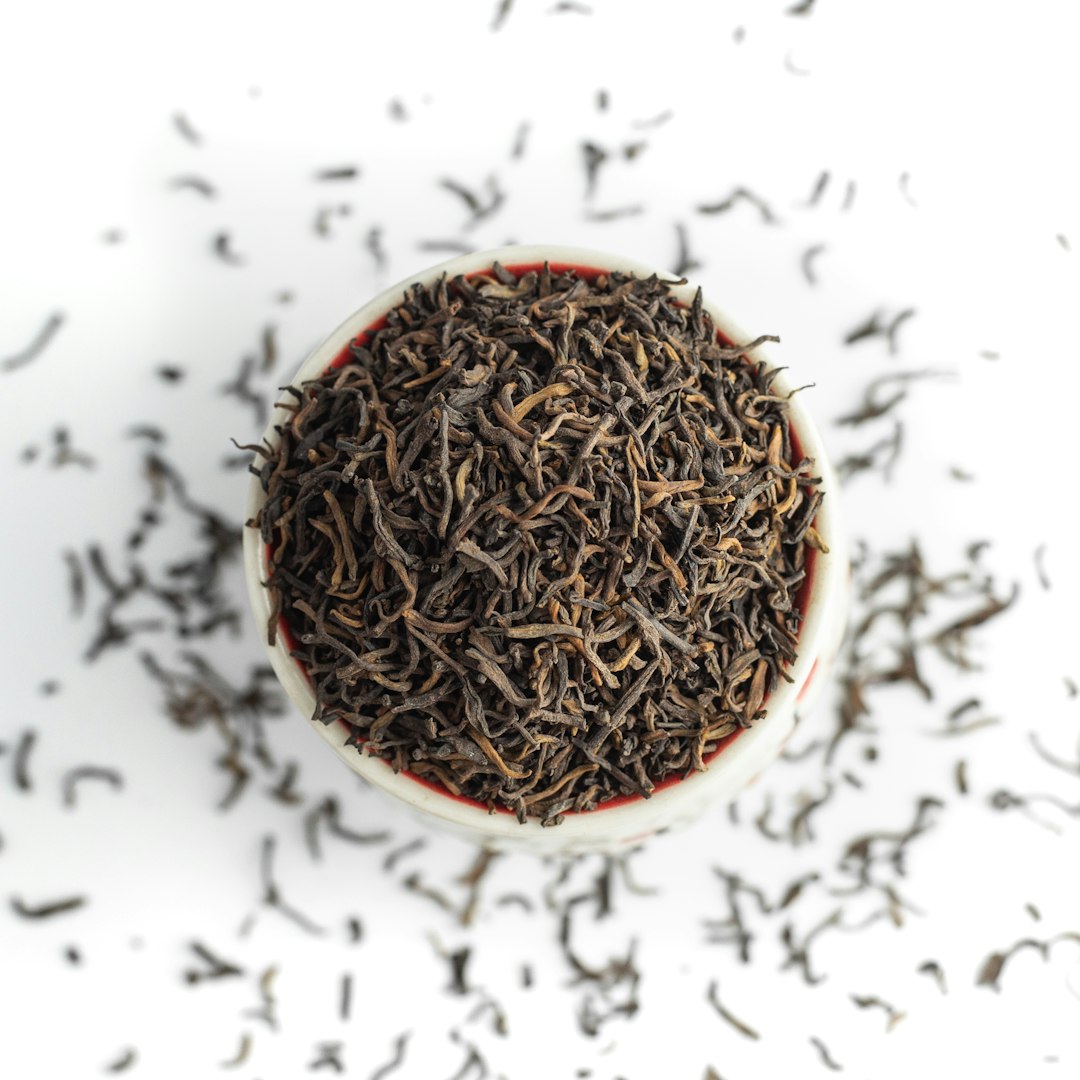
Have you ever sipped a cup of tea and wondered what it would be like to brew your own? Imagine stepping into your garden, plucking fresh leaves from your very own tea plants, and crafting a delightful brew that’s uniquely yours. While the idea of growing tea might seem daunting, we’re here to unravel the mystery and show you that it’s not only possible but also incredibly rewarding!
In this article, we’ll dive deep into the world of tea cultivation, exploring everything from the best varieties to grow, to common mistakes to avoid. Did you know that it can take up to three years before your tea plant is ready for its first harvest? But don’t worry! With our 10 essential tips, you’ll be well-equipped to nurture your plants and enjoy the fruits (or rather, leaves) of your labor. So, are you ready to embark on this flavorful journey? Let’s get started!
Key Takeaways
- Growing tea is a rewarding adventure that requires patience and care, with a typical wait of 3 years before harvesting.
- The tea plant, Camellia sinensis, thrives in acidic, well-draining soil and loves full sunlight.
- Harvesting should be done in spring and summer for the best flavor, focusing on the top two leaves and the bud.
- Avoid common mistakes such as overwatering and neglecting soil quality to ensure healthy plants.
- Consider starting with tea growing kits for a beginner-friendly approach.
Ready to start your tea-growing journey? 👉 Shop our recommended tea growing kits here and take the first step towards brewing your own delicious tea! 🌱
Table of Contents
- Quick Tips and Facts about Growing Tea
- The Fascinating History of Tea Cultivation
- Understanding the Tea Plant: Camellia sinensis
- Step-by-Step Guide: How to Grow Your Own Tea Plant
- Growing Tea from Seed vs. Cuttings: Which is Easier?
- Essential Tips for Harvesting Tea Leaves Like a Pro
- Processing Tea Leaves: From Garden to Cup
- Top 10 Tea Growing Mistakes to Avoid
- How to Use Tea Growing Kits for Beginners
- Unique Varieties of Tea You Can Grow at Home
- Top 5 Health Benefits of Growing Your Own Tea
- Find Your Local Tea Growing Community
- Conclusion
- Recommended Links
- FAQ
- Reference Links
Quick Tips and Facts about Growing Tea
Growing tea can be a rewarding adventure, but it’s not without its quirks! Here are some quick tips to get you started on your tea-growing journey:
| Aspect | Rating (1-10) |
|---|---|
| Ease of Growing | 7 |
| Soil Requirements | 8 |
| Watering Needs | 9 |
| Time to Harvest | 6 |
| Maintenance | 7 |
Key Points:
- Tea Plant: The tea plant, Camellia sinensis, is a hardy evergreen that can thrive in various climates, but it prefers acidic, well-draining soil.
- Growing Time: Expect to wait 3 years before your tea plant is ready for its first harvest.
- Watering: Tea plants require consistent watering—about 1 inch per week is ideal. Avoid letting the soil dry out completely! 💧
- Light: They love full sun but can tolerate partial shade.
- Harvesting: The best time to harvest is in the spring and summer when the new leaves are tender and bright green. 🌱
The Fascinating History of Tea Cultivation
Tea has a rich history that dates back thousands of years! Originating in China, it has traveled the globe, influencing cultures and economies. Did you know that tea was first discovered by Emperor Shen Nong around 2737 BC? Legend has it that some leaves accidentally fell into his boiling water, creating the first cup of tea! 🍵
Fun Facts:
- Cultural Significance: Tea ceremonies in Japan and China are steeped in tradition and mindfulness.
- Economic Impact: The British tea trade led to significant historical events, including the Boston Tea Party in 1773, which was a protest against British taxation.
Understanding the Tea Plant: Camellia sinensis
The tea plant, Camellia sinensis, is the backbone of all tea varieties—green, black, oolong, and white. Understanding its characteristics is crucial for successful cultivation.
Characteristics:
- Height: Can grow up to 2 meters tall if left unpruned.
- Leaves: Glossy green leaves that are rich in flavor and aroma.
- Flowers: Produces beautiful white flowers in autumn, which can also be brewed into tea! 🌼
Varieties:
- Chinese Varieties: Camellia sinensis sinensis is known for its delicate flavor.
- Indian Varieties: Camellia sinensis assamica is robust and often used for black teas.
Step-by-Step Guide: How to Grow Your Own Tea Plant
Ready to roll up your sleeves? Here’s a step-by-step guide to growing your own tea plant:
Step 1: Choose Your Location
- Sunlight: Select a spot that receives full sun for at least 6 hours a day.
- Soil: Ensure you have acidic soil (pH 4.5-6). If you’re unsure, a soil test can help!
Step 2: Planting
- Seeds or Saplings: You can start from seeds (which can take longer) or buy young saplings from reputable sources like Camellia Forest Nursery.
- Spacing: Space your plants about 1.5 meters apart for optimal growth.
Step 3: Watering
- Initial Care: Water regularly, especially during the first two years. Aim for 1 inch of water per week. 🌧️
Step 4: Fertilization
- Use ericaceous compost for planting. Fertilize sparingly—too much can affect the taste of your tea!
Step 5: Harvesting
- After about 3 years, you can start harvesting! Pick the top two leaves and the bud from each branch.
Growing Tea from Seed vs. Cuttings: Which is Easier?
When it comes to starting your tea garden, you have two main options: seeds or cuttings. Let’s break it down!
| Method | Ease of Growing | Time to Germinate | Success Rate |
|---|---|---|---|
| Seeds | ❌ Moderate | 6-8 weeks | 50% |
| Cuttings | ✅ Easy | Immediate | 80% |
Seeds:
- Pros: Can be more rewarding if successful.
- Cons: Germination can be tricky, and you may need to soak seeds for 24-48 hours before planting.
Cuttings:
- Pros: Faster and more reliable. Just take a cutting from a healthy plant and root it in water or soil.
- Cons: Requires access to an existing tea plant.
Essential Tips for Harvesting Tea Leaves Like a Pro
Harvesting is where the magic happens! Here are some pro tips to ensure you get the best leaves:
Timing is Everything
- Spring and Summer: The best time to harvest is during these seasons when new growth is abundant.
How to Harvest
- Technique: Use your fingers to gently pluck the top two leaves and the bud. This encourages bushier growth! 🌿
Frequency
- Regular Harvesting: You can harvest multiple times during the growing season. The more you pick, the more your plant will produce!
Processing Tea Leaves: From Garden to Cup
Once you’ve harvested your leaves, it’s time to process them! Here’s a quick overview of how to turn those fresh leaves into your favorite brew.
Steps to Process Tea:
- Withering: Lay the leaves out to wilt for several hours.
- Rolling: Gently roll the leaves to break down the cell walls.
- Oxidation: Allow the leaves to oxidize (for black tea) or skip this step for green tea.
- Drying: Finally, dry the leaves in a low oven or dehydrator.
Types of Tea:
- Green Tea: Minimal oxidation, retains the fresh flavor.
- Black Tea: Fully oxidized for a robust taste.
- Oolong Tea: Partially oxidized, offering a balance between green and black.
Top 10 Tea Growing Mistakes to Avoid
Even seasoned tea growers can stumble! Here are the top 10 mistakes to watch out for:
- Overwatering: Too much water can lead to root rot. 🚫
- Poor Soil: Not using acidic soil can stunt growth.
- Ignoring Sunlight: Insufficient light can affect leaf quality.
- Neglecting Fertilization: While tea plants don’t need much, some nutrients are essential.
- Harvesting Too Early: Patience is key—wait for the right time!
- Not Pruning: Regular pruning encourages bushier growth.
- Using Garden Soil: Always opt for ericaceous compost.
- Ignoring Pests: Keep an eye out for pests that can damage your plants.
- Skipping Winter Protection: Young plants need extra care during frost.
- Not Researching: Always stay informed about best practices!
How to Use Tea Growing Kits for Beginners
Tea growing kits can be a fantastic way to start your tea garden without the hassle! Here’s how to make the most of them:
What’s Included?
- Seeds or Saplings: Most kits come with everything you need to get started.
- Instructions: Clear, step-by-step guides to help you along the way.
Benefits of Using Kits:
- Convenience: Perfect for beginners who want to dive in without extensive research.
- Success Rate: Kits often include high-quality seeds or plants that are more likely to thrive.
Recommended Kits:
- The Wee Tea Company: Offers a great selection of tea growing kits.
- Fast Growing Trees: Known for their healthy saplings and easy-to-follow instructions.
Unique Varieties of Tea You Can Grow at Home
Did you know you can grow more than just traditional black or green tea? Here are some unique varieties to consider:
- White Tea: Delicate and sweet, made from young leaves and buds.
- Herbal Tea: While not technically from Camellia sinensis, you can grow herbs like mint and chamomile for delicious blends! 🌼
- Oolong Tea: A semi-oxidized tea that offers a unique flavor profile.
- Flavored Teas: Experiment with adding dried fruits or flowers during processing for custom flavors.
Top 5 Health Benefits of Growing Your Own Tea
Growing your own tea isn’t just fun; it’s also good for you! Here are the top 5 health benefits:
- Freshness: Homegrown tea is fresher than store-bought, retaining more nutrients.
- Control Over Ingredients: You know exactly what goes into your tea—no pesticides or additives! 🌱
- Stress Relief: Gardening is a great way to relax and unwind.
- Physical Activity: It keeps you active and engaged with nature.
- Connection to Nature: Growing your own tea fosters a deeper appreciation for the environment.
Find Your Local Tea Growing Community
Connecting with fellow tea enthusiasts can enhance your growing experience! Here’s how to find your local community:
- Online Forums: Websites like Reddit’s Tea Community offer a wealth of information and support.
- Local Gardening Clubs: Many areas have clubs focused on tea cultivation.
- Workshops: Look for local workshops or classes on tea growing and processing.
Conclusion
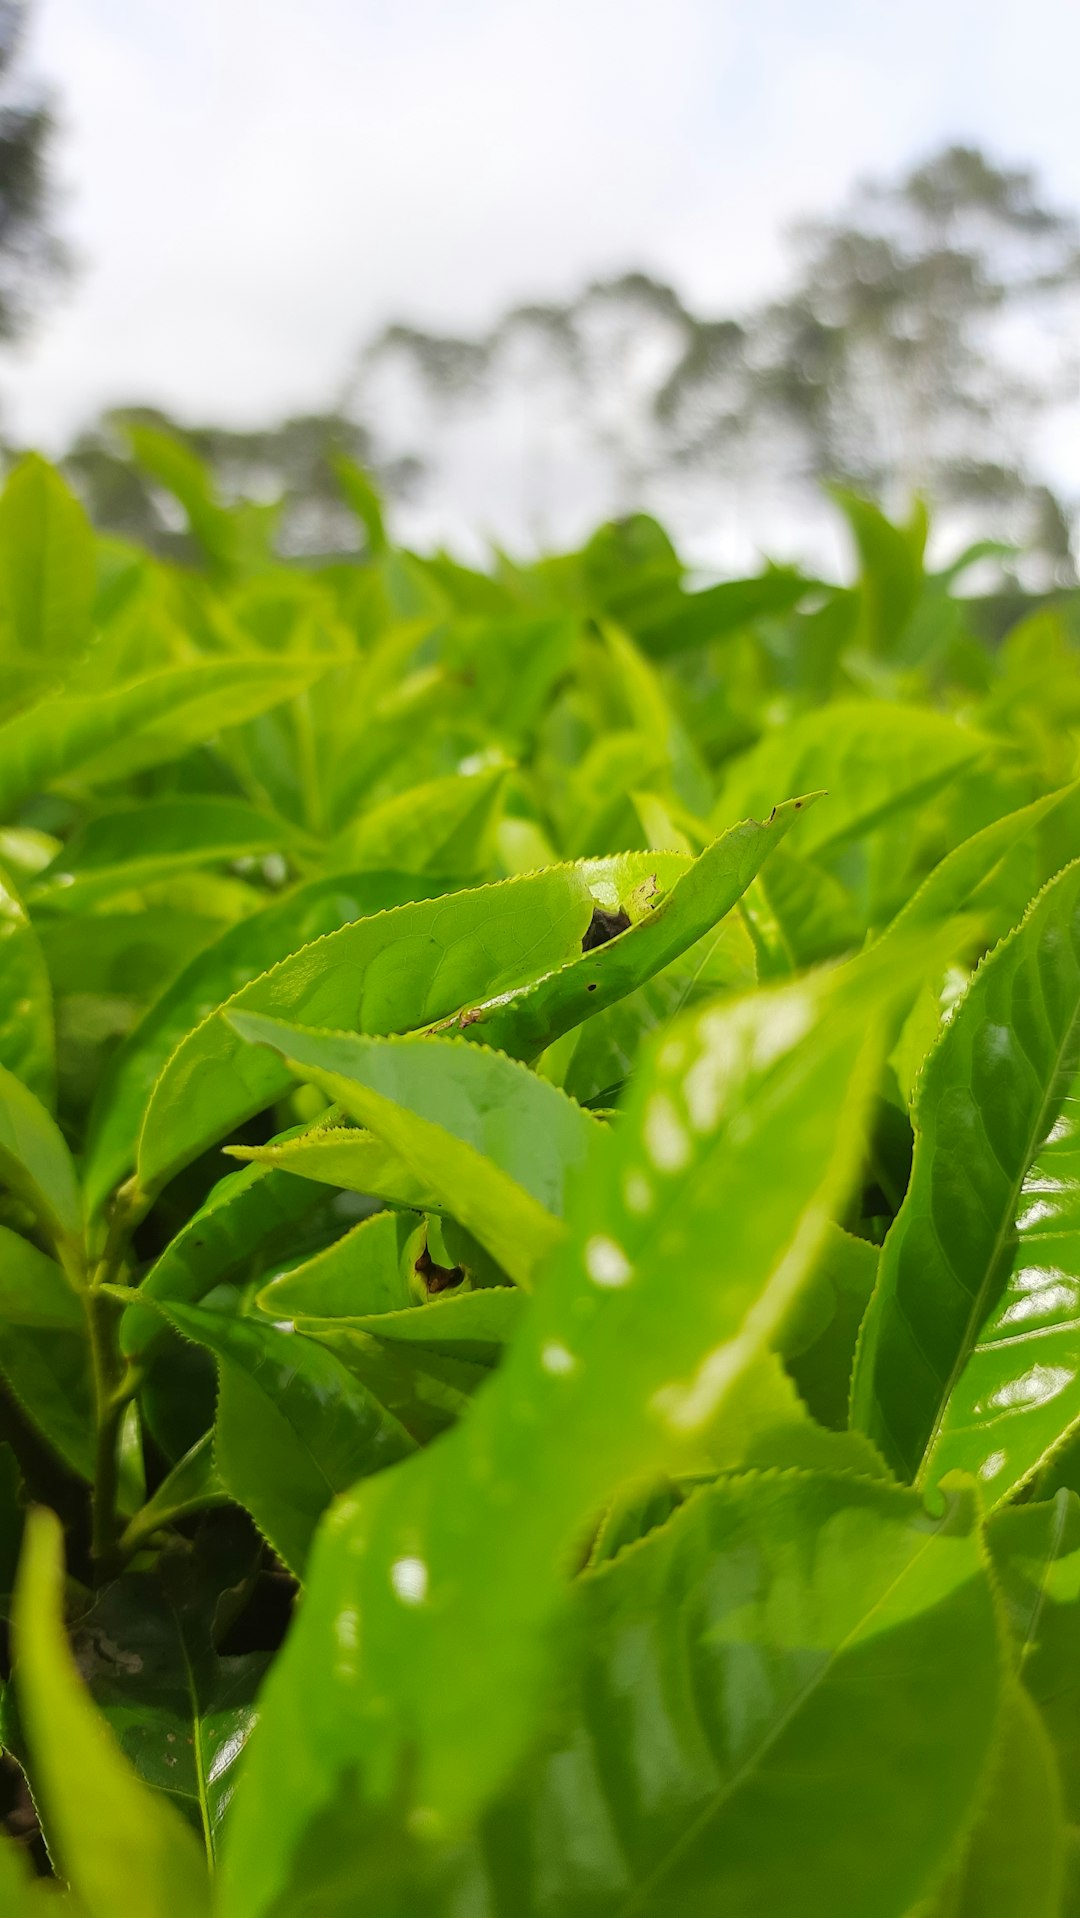
So, is tea easy to grow? The answer is a resounding maybe! While it does require some patience and care, with the right knowledge and tools, you can cultivate your very own tea garden. Whether you’re sipping on a refreshing green tea or a robust black brew, the satisfaction of growing your own leaves is unmatched. 🌿
For more insights, check out our related articles on Green Tea Cultivation and Herbal Tea Planting. Happy growing! 🍃
Conclusion
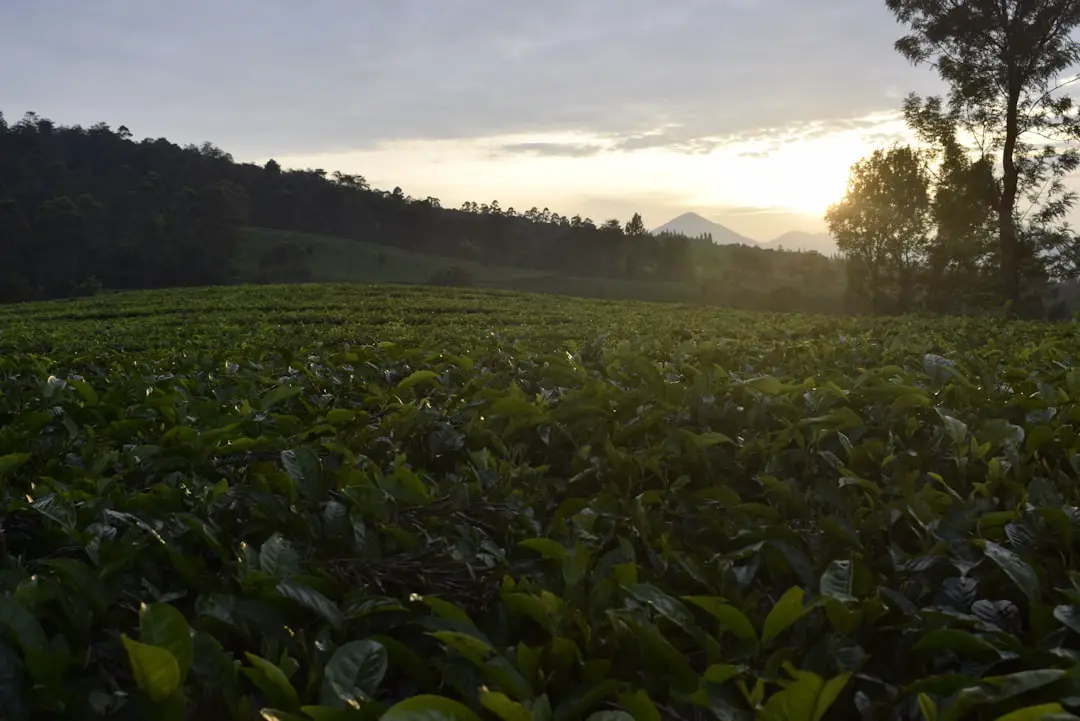
In conclusion, growing your own tea can be a delightful and fulfilling endeavor! While it may not be the easiest plant to cultivate, the rewards of sipping on your very own brew make it all worth it. With a bit of patience, the right conditions, and some tender loving care, you can enjoy the journey from garden to cup. 🌱
Summary of Positives and Negatives
Positives:
- Freshness: Homegrown tea offers unparalleled freshness and flavor.
- Control: You have complete control over the growing conditions and can avoid harmful chemicals.
- Health Benefits: Engaging in gardening promotes physical activity and mental well-being.
Negatives:
- Time-Consuming: It takes about three years before you can start harvesting.
- Specific Requirements: Tea plants have particular needs regarding soil, light, and water, which can be challenging for beginners.
Recommendation: If you’re ready to take on the challenge, we highly recommend starting with a tea growing kit or purchasing a young sapling from a reputable nursery. The journey is as rewarding as the destination!
Recommended Links
-
👉 Shop Tea Growing Kits on:
-
Books on Tea Cultivation:
FAQ
How long does it take to grow tea?
Growing tea typically takes about 3 years before you can start harvesting the leaves. During this time, the plant will establish its roots and develop the necessary foliage for a good yield. Patience is key!
Read more about “Discover 15 Exceptional American Grown Tea Brands You Need to Try in 2024! ☕✨”
How hard is it to grow your own tea?
Growing tea can be moderately challenging. It requires specific conditions such as acidic soil, adequate sunlight, and consistent watering. However, with the right tools and knowledge, many beginners successfully grow tea plants. It’s all about understanding the plant’s needs! 🌿
Read more about “How hard is it to grow your own tea?”
Can you grow tea trees in the USA?
Yes, you can grow tea trees in certain regions of the USA, particularly in the southeastern states like South Carolina and parts of California. These areas provide the warm climate and humidity that tea plants thrive in. 🌞
Read more about “Why is Tea Hard to Grow? 10 Surprising Challenges Unveiled! 🌱”
Why isn’t tea grown in the US?
Tea is not widely grown in the US primarily due to climate limitations. Most tea varieties require a subtropical or tropical climate, which is not prevalent across the country. Additionally, the tea market is dominated by established producers in Asia, making it challenging for new growers to compete.
Read more about “Why isn’t tea grown in the US?”
What are the best varieties of tea to grow at home?
The best varieties for home growing include green tea, black tea, and oolong tea. Each type comes from the same plant, Camellia sinensis, but is processed differently. For beginners, starting with green tea is often recommended due to its simpler processing requirements.
What pests should I watch out for when growing tea?
Common pests that can affect tea plants include aphids, whiteflies, and spider mites. Regularly inspect your plants and use organic pest control methods to keep them healthy.
Read more about “Is It Difficult to Grow Tea? Discover 10 Essential Tips for Success! 🌱”
Reference Links
- Young Mountain Tea: How to Grow Your Own Tea Plant
- Love the Garden: How to Grow Tea
- Rain Tree Nursery: Growing Tea
- Young Mountain Tea: Growing Your Own Tea
By following these guidelines and recommendations, you’ll be well on your way to enjoying your very own homegrown tea! Happy gardening! 🍃
